
So-Brite
How to Install Soffit Lights the Right Way
May
A soffit lighting job can look premium or look patched together fast. The difference usually comes down to layout, wire planning, and whether the installer treats it like a finished exterior system instead of a quick add-on. If you want to know how to install soffit lights in a way that looks clean, performs reliably, and protects your margins, start before the first hole is drilled.
For contractors and lighting businesses, soffit lights are more than an accent feature. They are a practical upsell for homes, retail buildings, patios, entries, and outdoor living spaces. Done well, they add curb appeal, improve nighttime visibility, and create a year-round lighting solution that opens the door to more revenue per project.
Why soffit lights are worth offering
Soffit lights sit in a sweet spot between aesthetics and function. They can highlight walls, columns, garage doors, and walkways without cluttering the landscape with extra fixtures. They also work well on both residential and commercial properties, which makes them a strong category for installers looking to expand their offering.
From a business standpoint, soffit lighting can pair naturally with permanent roofline lighting, landscape systems, pathway lights, and smart controls. That matters because the best jobs are rarely one-product jobs. When you install a well-designed soffit system, you are often creating a foundation for future add-ons and service work.
How to install soffit lights: plan the layout first
The biggest mistake on soffit jobs is treating layout as an afterthought. Even premium fixtures can look uneven if spacing is inconsistent or the beam spread is wrong for the height of the structure.
Start by identifying what the lights need to do. If the goal is downlighting for entries, porches, and walk zones, fixture placement should favor coverage and safety. If the goal is architectural wash or ambiance, spacing can open up a bit and focus more on visual rhythm. On a typical residential eave, many installers land somewhere between 4 and 8 feet apart, but that is not a rule. Mounting height, beam angle, output, and surface color all affect the result.
Before marking locations, step back from the structure and look at the elevation as a whole. You want the lighting to feel intentional from the street, not random section by section. Pay special attention to corners, peaks, garage bays, and transitions between levels. These are the areas where an uneven plan shows up immediately at night.
Check the soffit material and access conditions
Not every soffit installs the same way. Solid wood, aluminum, vinyl, and fiber cement all require a slightly different touch. Vinyl and thin aluminum can flex, so fixture fit and support matter. Wood is more forgiving but still needs clean drilling and weather-aware sealing. If there is attic access above, your wiring options are easier. If there is no access, you need a more deliberate low-voltage routing plan.
This is also the time to confirm what sits above the install zone. Electrical runs, framing members, vents, and insulation can all affect where fixtures and cable paths should go. A few extra minutes of inspection up front can save a costly correction later.
Choose the right system, not just the fixture
Installers who want fewer callbacks think in systems. That means matching the fixture to the driver or power supply, control method, cable run length, and outdoor rating instead of buying parts one at a time and hoping they play nicely together.
For most soffit applications, low-voltage LED systems are the practical choice. They are efficient, easier to scale, and better suited to controlled exterior runs. If the project includes color-changing features, app controls, or integration with other exterior zones, product compatibility matters even more. A premium system should be rated for exterior exposure, built for long-term weather resistance, and supported by accessories that make clean installation possible.
This is where supplier quality affects labor as much as product performance. Inconsistent connectors, weak housings, or unreliable power components can turn a profitable install into a service headache.
Tools and prep that save time on site
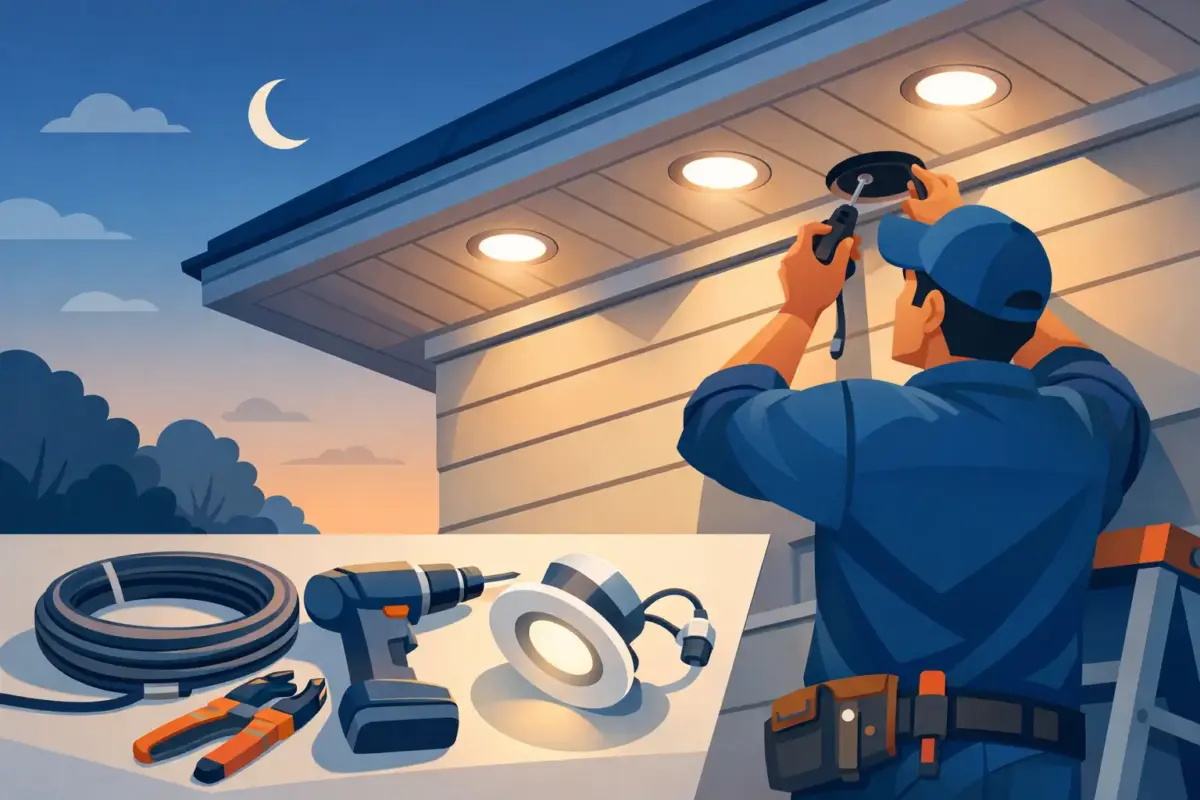
A clean soffit install usually requires a drill with the correct hole saw or step bit, fish tape or pull tools, low-voltage cable, connectors, mounting hardware, a voltage tester, sealant if the fixture design calls for it, and a ladder setup that lets your crew work safely without rushing.
It also helps to pre-stage every fixture by zone before installation begins. If the system includes controls, label runs in advance. This is a small operational detail, but it speeds up troubleshooting and makes expansion easier later. For dealers building a repeatable installation process, standardization here makes a real difference.
Cutting and mounting without damaging the finish
Once the layout is marked and verified, drill carefully. Measure twice, then check your spacing one more time from the ground. A hole that is off by even a few inches can stand out badly when the system is lit.
Use the correct bit size for the fixture body and avoid forcing the cut, especially on vinyl or aluminum soffits. Support the material as needed so it does not bend or tear. After each opening is cut, clean the edge and test-fit the fixture before moving on. If the fixture includes clips or compression mounting, make sure it seats securely without warping the soffit panel.
On premium jobs, the goal is simple: when the lights are off, the install should still look clean and deliberate.
Wiring soffit lights for reliability
If you are learning how to install soffit lights at a professional level, wiring discipline is where the quality gap really shows. Messy cable runs, overloaded circuits, and weak connections are the reason many exterior systems fail early.
Run cable with a clear plan back to the power source or control location. Avoid sharp edges, hot zones, and loose unsupported spans. Keep polarity consistent across the system if the product requires it, and follow the manufacturer load limits exactly. Voltage drop matters on longer runs, so size cable appropriately rather than assuming every job can use the same wire gauge.
Where multiple fixtures are grouped, create clean branch connections and protect them from moisture. Do not leave splices exposed in cavities that can collect condensation. If the system is designed around waterproof connectors and purpose-built accessories, use them. Improvising with generic components may save a few dollars on day one, but it usually costs more in service calls.
Power placement and control strategy
The location of the driver, transformer, or power box affects both performance and serviceability. Install it in an accessible, protected location where future maintenance does not require removing finished materials. If the client wants scheduling, dimming, color control, or zoning, make sure the control strategy is mapped before final connection.
For businesses adding smart exterior lighting, this is a profit center, not a complication. Clients increasingly expect app-based control and customized scenes, and soffit lights are an easy category to bring into that broader conversation.
Test before you finish
Before final trim-out, power the system and test every fixture. Check for even output, correct color behavior where applicable, and clean beam placement on the structure below. Walk the property from the curb, driveway, entry, and side angles. What looks balanced from a ladder may not look balanced from the street.
If one area appears brighter or darker, fix it now. Small spacing adjustments and zone corrections are easier before everything is buttoned up. This is also the right time to confirm timer settings, app pairing, and any homeowner or property manager controls.
Common problems and how to avoid them
Most soffit lighting issues are preventable. Uneven spacing usually comes from measuring off obstacles instead of planning the full elevation first. Flickering often points to a bad connection, incompatible components, or incorrect load calculations. Water-related failures tend to trace back to poor connection protection or fixtures that were never designed for demanding outdoor conditions.
There is also a design issue many installers run into: too much light. More output is not always better on soffits, especially on light-colored homes or lower eaves. Overlighting creates glare and can cheapen the look. A controlled, even effect usually wins over raw brightness.
The installation mindset that supports growth
A soffit light project is not just a fixture install. It is a chance to show a client that your company can deliver a complete exterior lighting solution with professional planning, dependable hardware, and clean execution. That is what drives referrals, add-on work, and long-term account value.
For dealers and contractors focused on growth, the opportunity is bigger than a single service line. A well-built soffit offering helps you move upstream into permanent exterior lighting, smart controls, architectural accent lighting, and commercial upgrades. That is why product consistency, accessory availability, and supplier support matter so much. Brands built to support installers, including So-Brite, are positioned to help businesses streamline sourcing and expand revenue without sacrificing finish quality.
The best soffit installs do not call attention to the labor behind them. They just work, look sharp at night, and make the client ask what else you can light next.
